 |
| Progress at last.... |
|
|
Here's how you make the center section ribs for a Mustang II.
Did I mention my budget?
I don't have one...
First, you need some 2024T3 aluminum...
 |
| Scrap |
This is some scrap aluminum that came from a repair job on a 1961 Cessna 150. It's representative of the tons of junk I've collected over the years. You can see all the corrosion and pulled out holes on the metal. But look close enough and you'll also see that the sheets are still sound.
Soooo.... not having a solitary dime to put toward this project, I'm using old scrap pieces as much as possible.
 |
| Rib Blank |
Here's a rib blank cut from the scrap pictured above. Cleaned up pretty good huh? No dings, no corrosion, no cracks... just some extremely good T3 that just happens to be about as old as me.
 |
| Form Blocks |
So, we take the rib blank and bolt it between two form blocks that were cut from the Mustang II blueprints.
About the form blocks... They are made from solid oak, and should last forever. Why oak, you ask? Because I have several 1 by 8 oak boards that were given to me by a friend years ago. In other words... the blocks are freebies.
Gotta' watch that budget.
 |
| Bending the Flanges |
| | |
|
|
Using a deadblow mallet, bend the flanges over the edge of the form blocks. About that mallet....
I purchased it at a hardware store a few weeks ago when I was buying some odds and ends for the house. It's really slick for flange bending. A few days after I bought it, I was adding my receipts to the check register when I noticed that the hardware store receipt was about $20 smaller than I had anticipated. The clerk at the hardware store had neglected to ring up the $18.00 mallet. I seriously considered going back to the store and pay for it, but since it's a large chain store, and an over priced one (in my opinion) at that, I didn't.
Did I mention my budget?
 |
| Puckered Flange |
The flanges will only bend so far before they start to pucker pretty bad. Now it's time to remove the rib....
 |
| Pretty Rough... |
Now it's time to grab the homemade tweak stick...
 |
| Tweak Stick |
Tweak sticks are invaluable in sheet metal work.
 |
| 'Tweakin' the Flange |
Using the homemade tweaker (read that, free tweaker), continue bending the flange to a 90
o angle. When done, your rib will look something like this....
 |
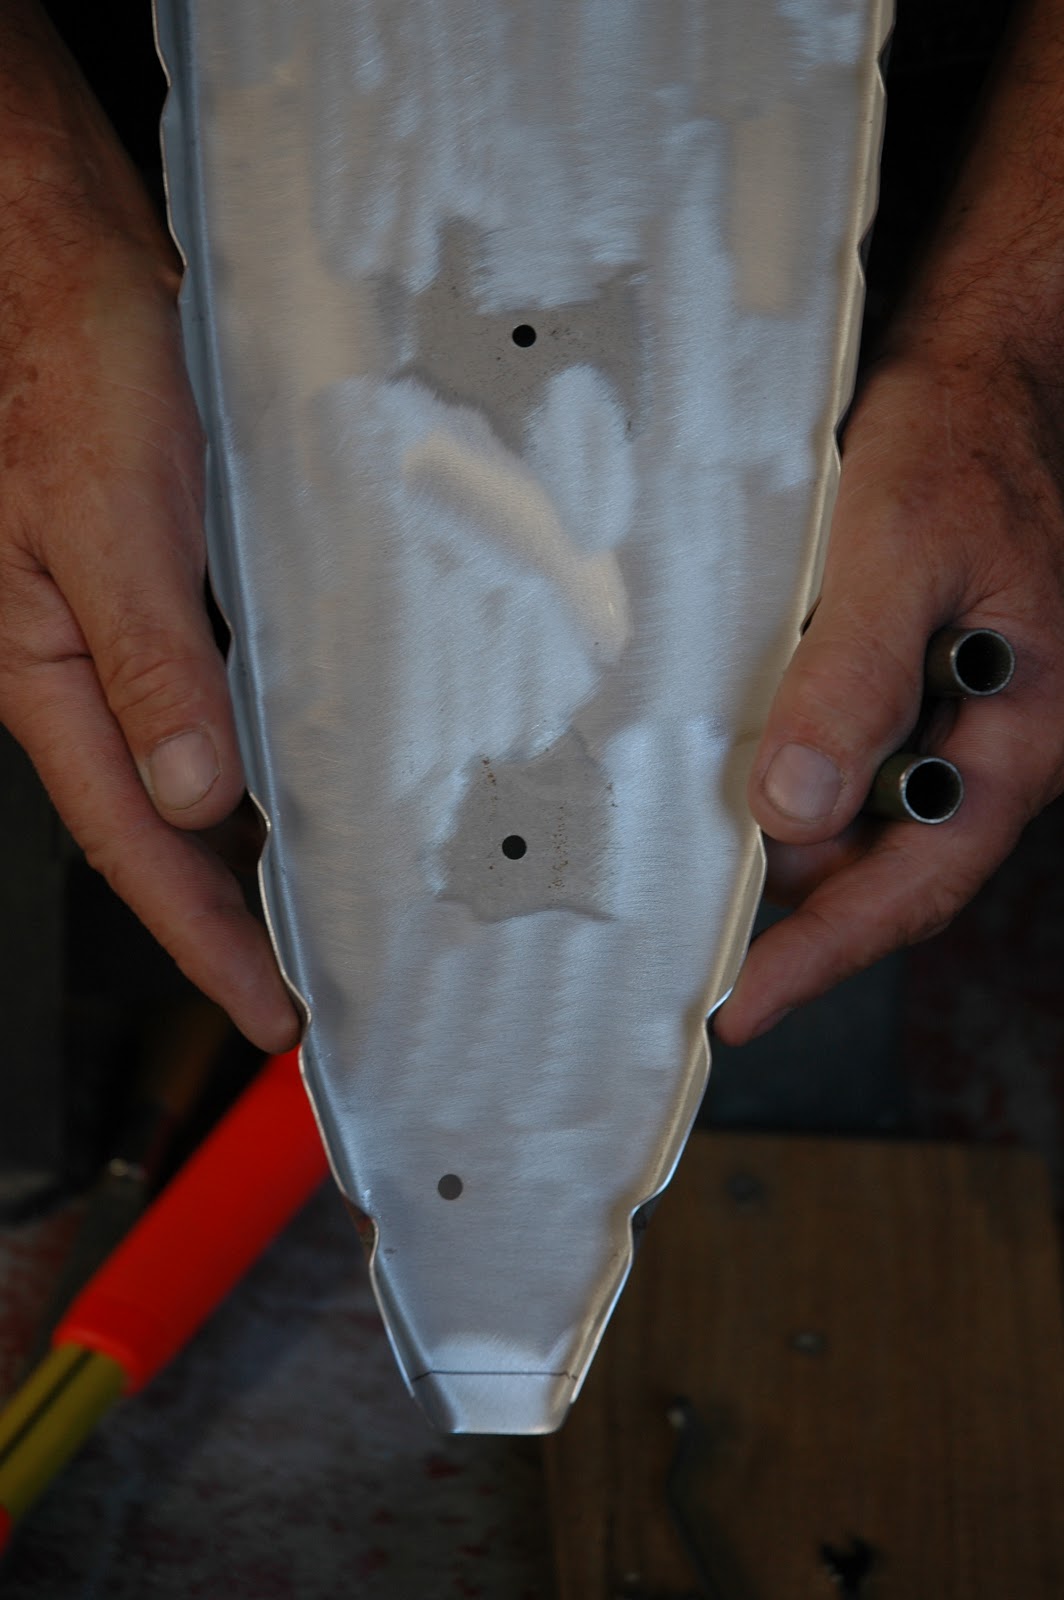
| That Don't Look Right... |
Your flanges are now bent correctly, but damn... look at the curve in that rib. No way that's gonna' work.
Not to worry. Now it's time to grab your homemade (yup... free) fluting pliers.
 |
| Fluting Pliers |
The fluting pliers are made from a worn out set of slip joint pliers, some scrap 4130 tubing, and three AN-4 bolts (used, of course).
 |
| Fluting |
While the rib blank was still in the forming blocks, I marked the rivet locations. All flutes are centered between these marks. Continue fluting until the rib is straight.
 |
| Flutes |
As you flute the flange (say that fast ten times), not only will it straighten the rib, but it will pull out all the puckers caused by the deadblow mallet. Puckers not completely removed can be taken care of with the tweaker.
 |
| Much Better |
Now we cut out the lightening holes with a fly cutter and drill press.
 |
| Laser Cross-hairs... Cool! |
Once all the lightening holes are cut, it's time to flange the holes.
 |
| Yup... Home made Hole Flanger |
 |
| Flanger Mounted in Vise |
It takes about three or four turns to get the lightening holes flanged. After that, trim off the nose, file and polish all the edges, and viola.... a completed rib.
 |
| Completed Nose Rib |
 |
| Mass Production |
 |
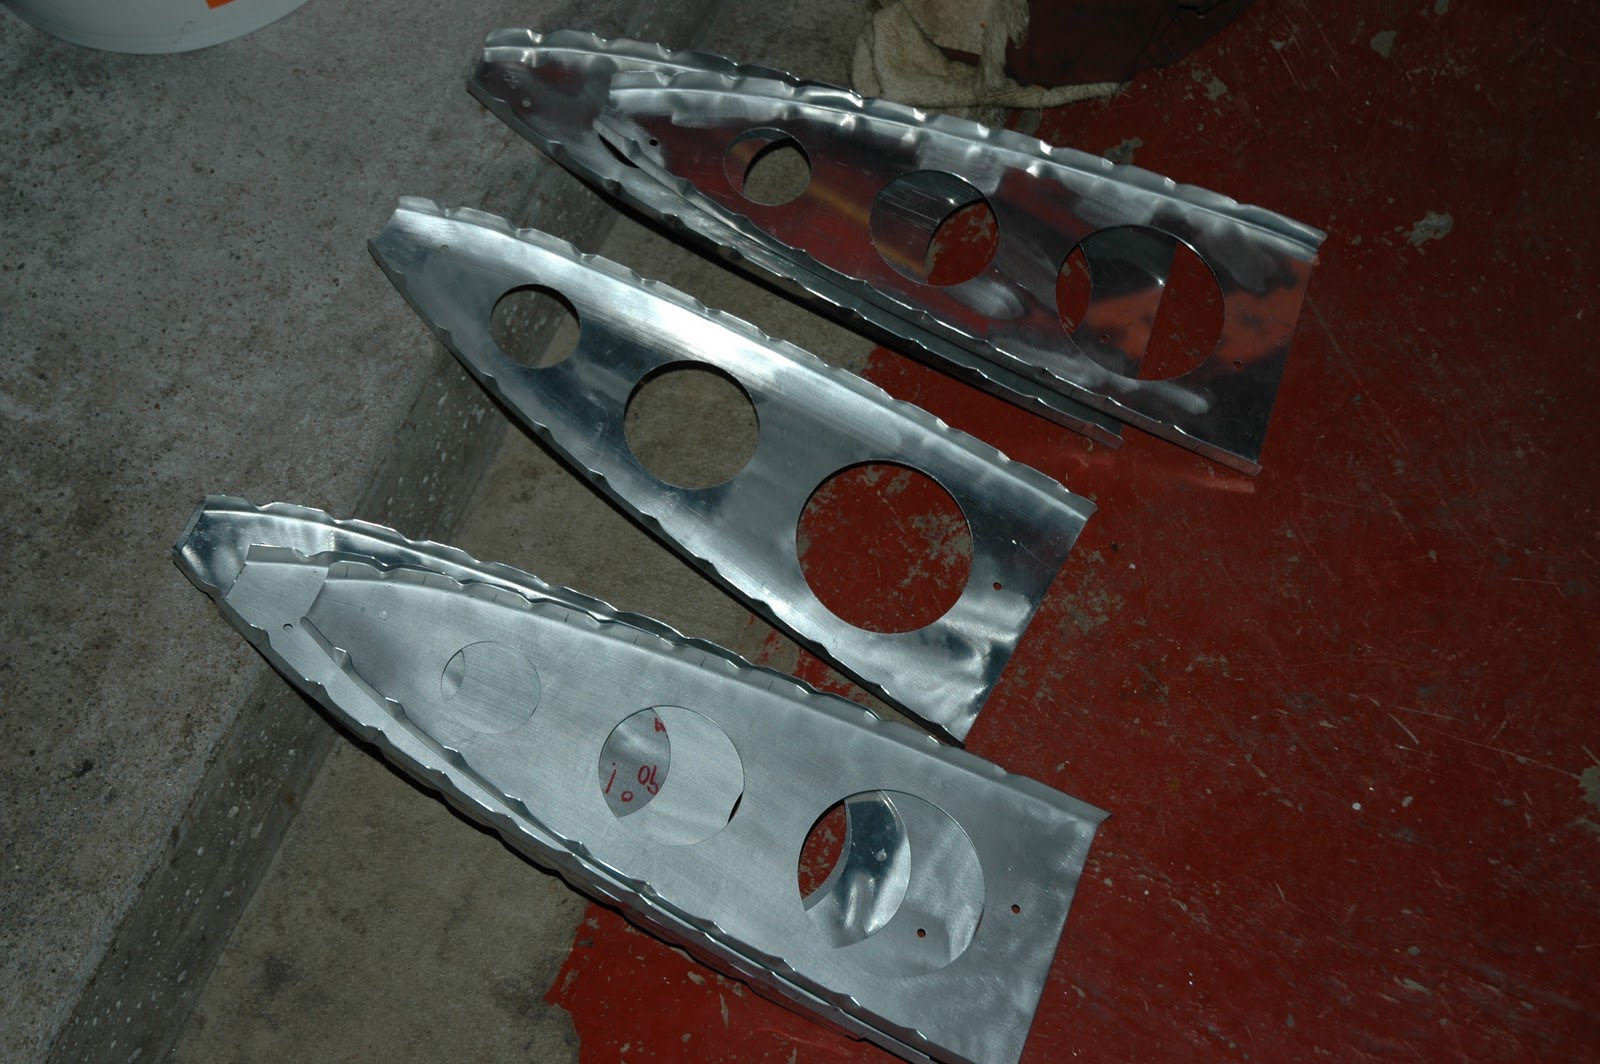
| Nose and Main Ribs |
I went ahead and knocked out a main rib also just so I could get a feel for the size of the wing.
I have enough scrap to make all of these also. So, all center section ribs and the four inboard wing ribs (nose and main) add up to a grand total of.... $0.00. Not bad for a weekends work. Especially considering that just the center section ribs cost over $300.00 (counting shipping) from Mustang Aero.
Did I mention my budget?
Jim.